Geometry
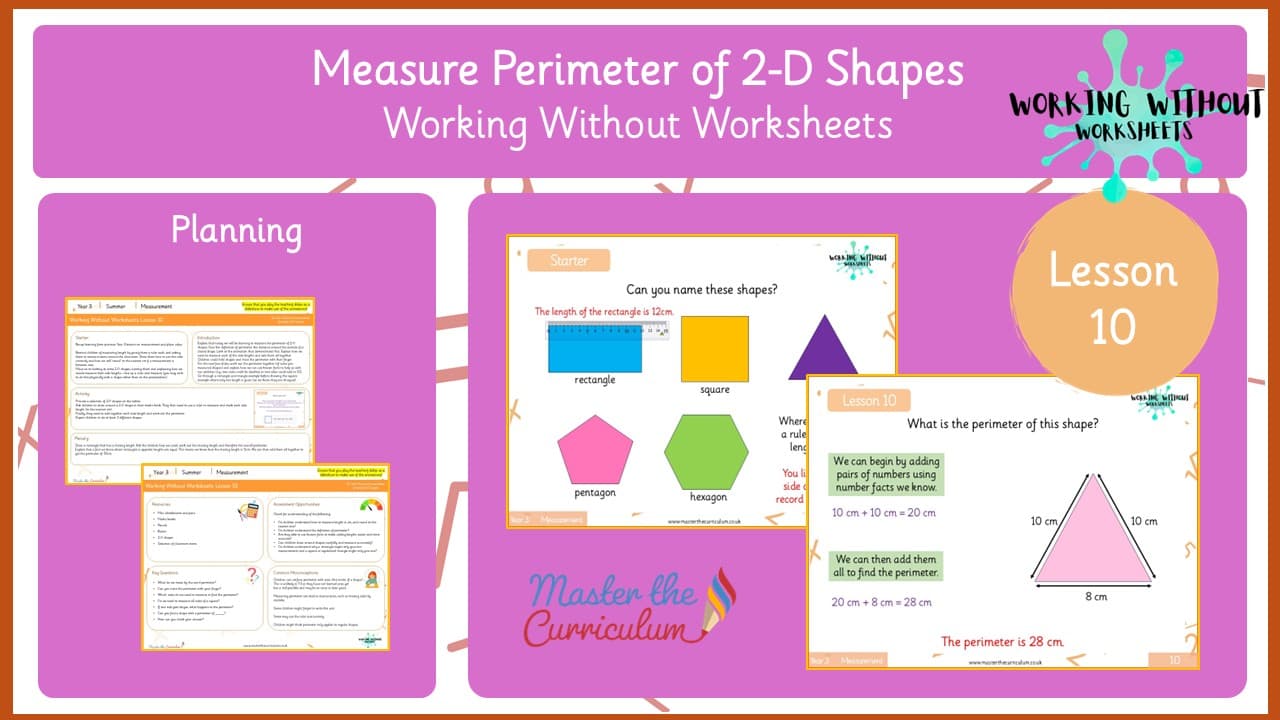
Y3L10 Measure the Perimeter of Simple 2-D Shapes
masterthecurriculum.co.uk
Proposed versionTrusted by primary teachers across the UK · New resources every week
Geometry
Y3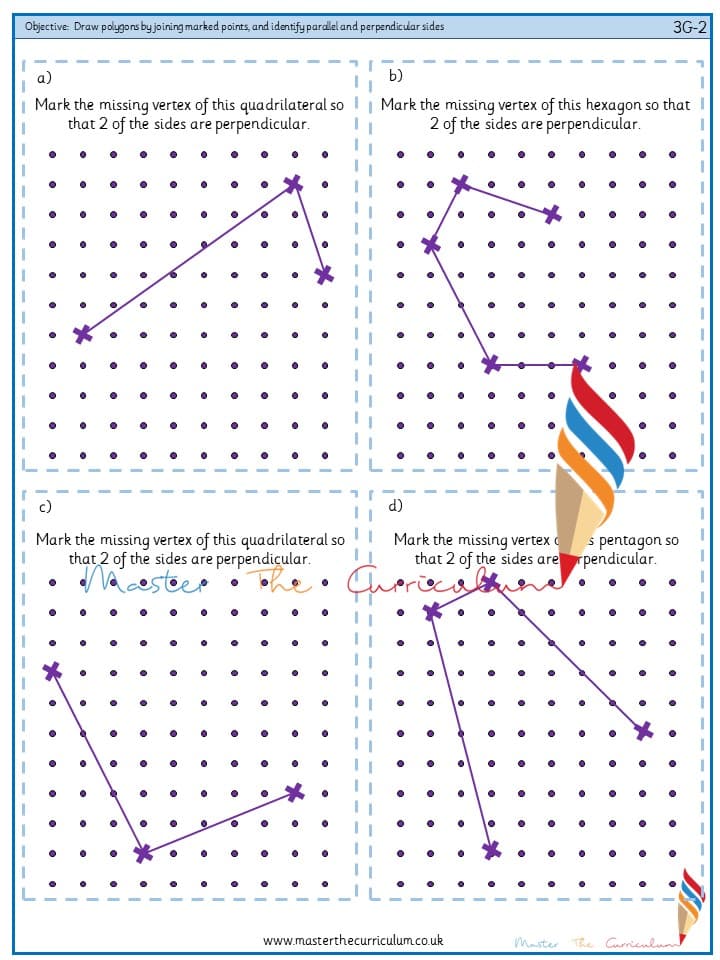
Preview only. The download is a fully editable file.
1 page shown before you download
1CoverThe rest of the pack
Planning, teaching slides and all three worksheet levels come with the download.
Included with membership
Unlock with membershipAlready a member? Sign in and it downloads from this page.
Keep it for later and group it with the rest of the block. No account needed to start.
Pupils must learn to draw polygons by joining marked points, precisely, using a ruler. Pupils should be able to mark vertices themselves on a grid (square or isometric), as well as join already-marked points. Pupils must be able to identify a pair of parallel or perpendicular lines, as well as horizontal and vertical lines. They should be able to explain why a pair of lines are parallel or perpendicular. Language focus “These 2 lines are parallel because they are always the same distance apart. They will never meet no matter how far we extend them.” “These 2 lines are perpendicular because they are at right angles to each other.” Pupils should be able to select or create shapes according to parameters that include these terms, such as joining 2 isosceles triangles to make a parallelogram. Pupils may use standard notation to mark parallel sides.
Show lessThe standard small step pack, as her own modules ship it. We do not print page counts here, because her catalogue does not publish them and a guessed number is worse than none.
Her own system, with the star count repeated in every worksheet header so a child can be handed the right sheet without a word.
Geometry
Y3Geometry
Y3
Geometry
Y3
Geometry
Y3
Geometry
Y3
One email a week, for the year group you actually teach. Unsubscribe in a click.